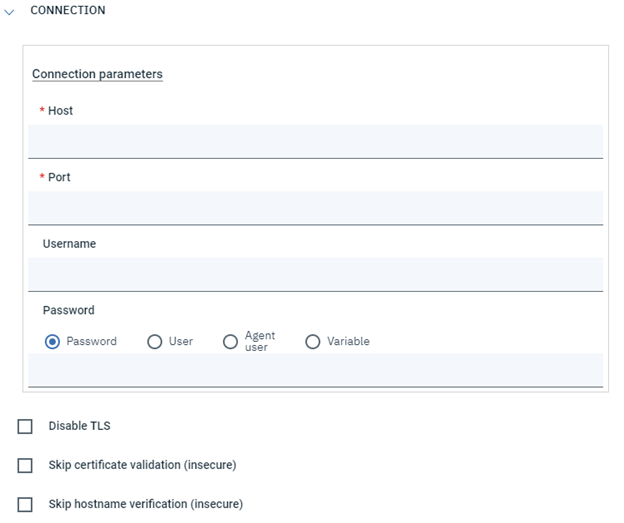
 The Send email plug-in allows you to deliver emails simply and effectively to all needed email addresses or groups, as all people also do from their inboxes. Thus, to improve your Workload Automation environment, download the Send email plug-in available on Automation Hub. After downloading it, log in to the Dynamic Workload Console and go to Workload Designer. Create a new job and select “Send email” in the Other section. 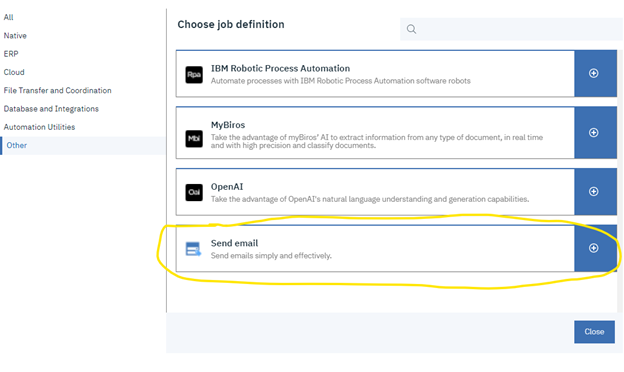 Connection In the Connection tab you must enter all required connection information:
There are also two non-required fields:
This field is linked to the below Password field so that, if necessary, you can create a User object inside your environment, choosing as password the Password associated to the email address of the sender, and then you can insert the name of the just created User in the Username field, and finally choose the User option for the Password field.
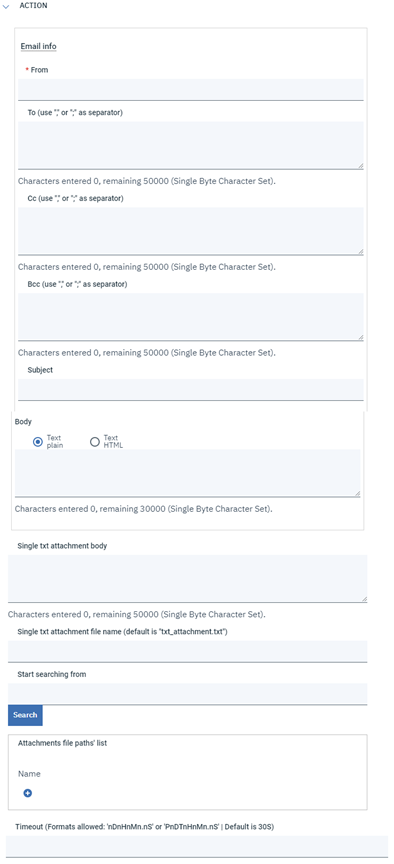
 Action In the Action tab you must enter all information required to submit the job. Only the From field is required because it will contain the email address of the sender. Then we have some non-mandatory fields:
Note: for all three fields above, it is possible to provide more than one recipient, by using “,” or “;” as separator. You can’t use both separators together.
 Submitting your job You can submit the job according to the current plan. After selecting the Submit icon, click Ok. You can move to the Monitoring and Reporting tab to check what’s happening when a confirmation message appears.  Monitor Job 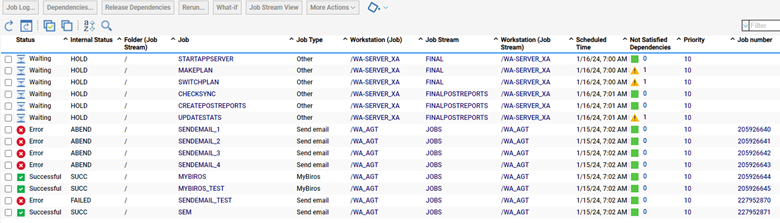 Job Log 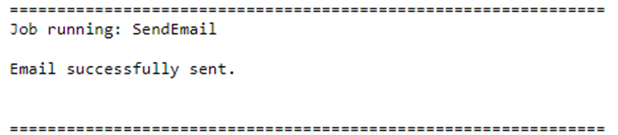 Output Properties  Received Emails 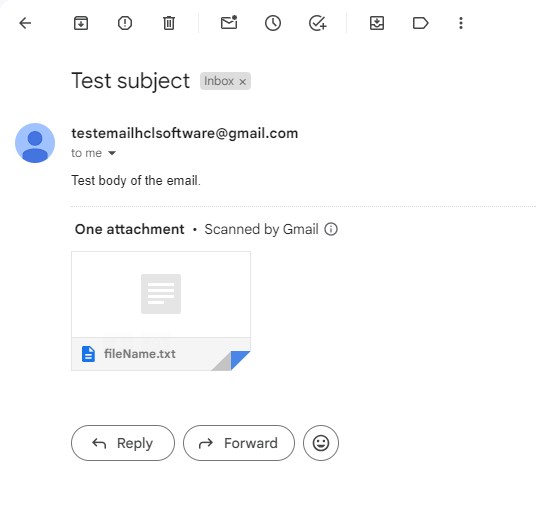
0 Comments
Your comment will be posted after it is approved.
Leave a Reply. |
Archives
August 2023
Categories
All
|


 RSS Feed