|
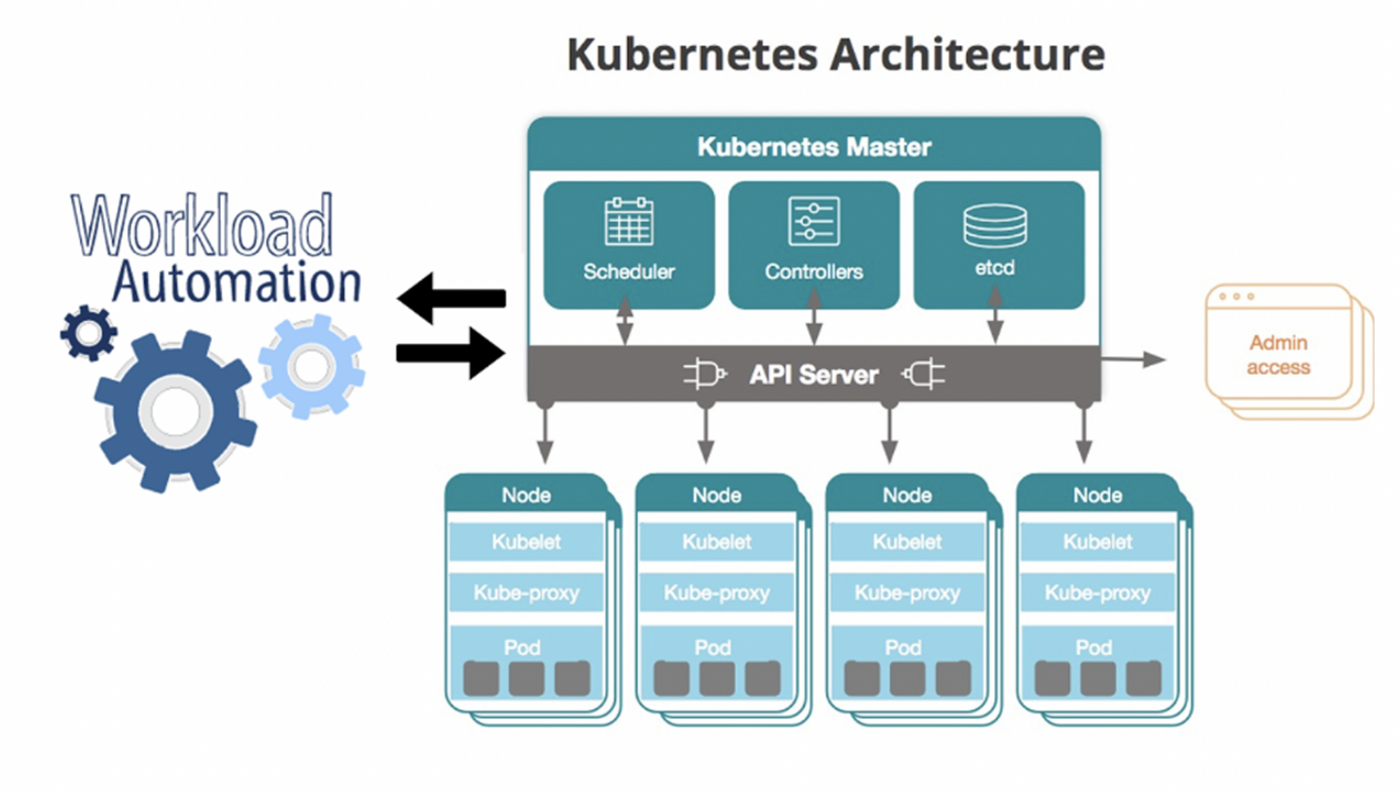
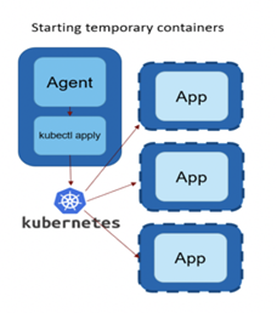
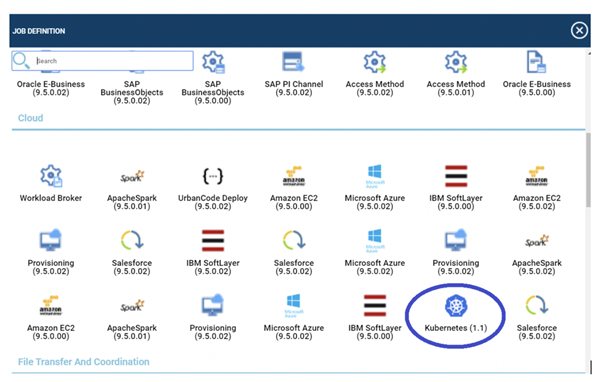
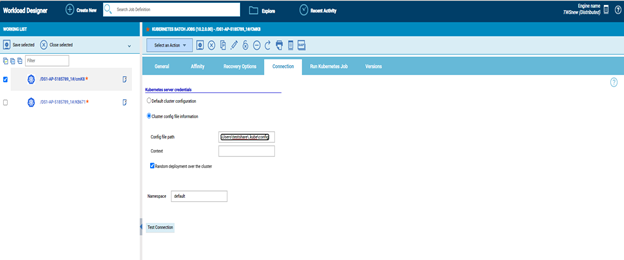
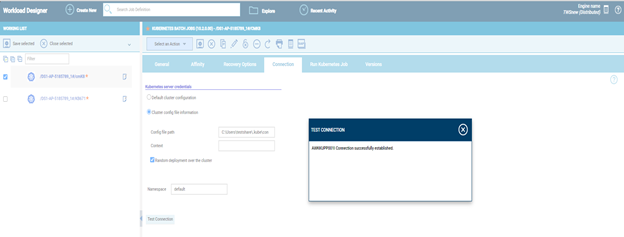
Industries are moving towards cloud native and microservice architectures, which scale and distribute apps using containers. However, containers have their own challenges and make infrastructure maintenance more complex, particularly in large dynamic environments (if you are unfamiliar with containers and Kubernetes, don't worry catch up with our latest post). Containers and Workload Automation 101). Do you use containers—microservices packaged with their dependencies and configurations—to build your applications? Are you also seeking a way to deploy and manage these containers effectively? What if you need to orchestrate Kubernetes jobs in a logical order, with jobs depending on other jobs, and you're having trouble finding a solution to this problem? Should the operations team have Kubernetes experience? No need to worry; Workload Automation's "Kubernetes plugin" provides the whole solution. Design your workload to take maximum advantage of the elastic scaling offered out-of-the-box by Kubernetes' new grid computing, which is now available in Workload Automation to submit, monitor, retrieve the logs of the k8's job, and clean the resources used in the cluster to run a job, as shown by the following image: To Begin with: Open the Workload Designer after logging into the Dynamic Workload Console. Select "Kubernetes" as the job type when creating a new job in the Cloud section. Establishing connection to the Kubernetes cluster: Select the "Connection" tab in the job definition interface and provide the connection details to connect to your Kubernetes cluster. For connecting to the cluster, the plugin provides two options:
When the Random deployment over cluster option is enabled, the user can randomly deploy the job to any of the available contexts in the configuration file, with each context having an equal probability of success. This will make it easier for the user to avoid constantly changing the current context in the configuration file and enable various contexts to equally distribute the load. Before even saving the job, you have the option to use the "Test Connection" button to ensure that the connection is successful. You might see an option to specify the "Namespace" in the k8 cluster where the job must be submitted in addition to connecting to the cluster. Surprisingly, this field is not mandatory. Therefore, if the user doesn't enter a value for "Namespace", the plugin will try and fetch the namespace that has been configured in the following order: In case you selected the default cluster configuration: 1.$KUBECONFIG
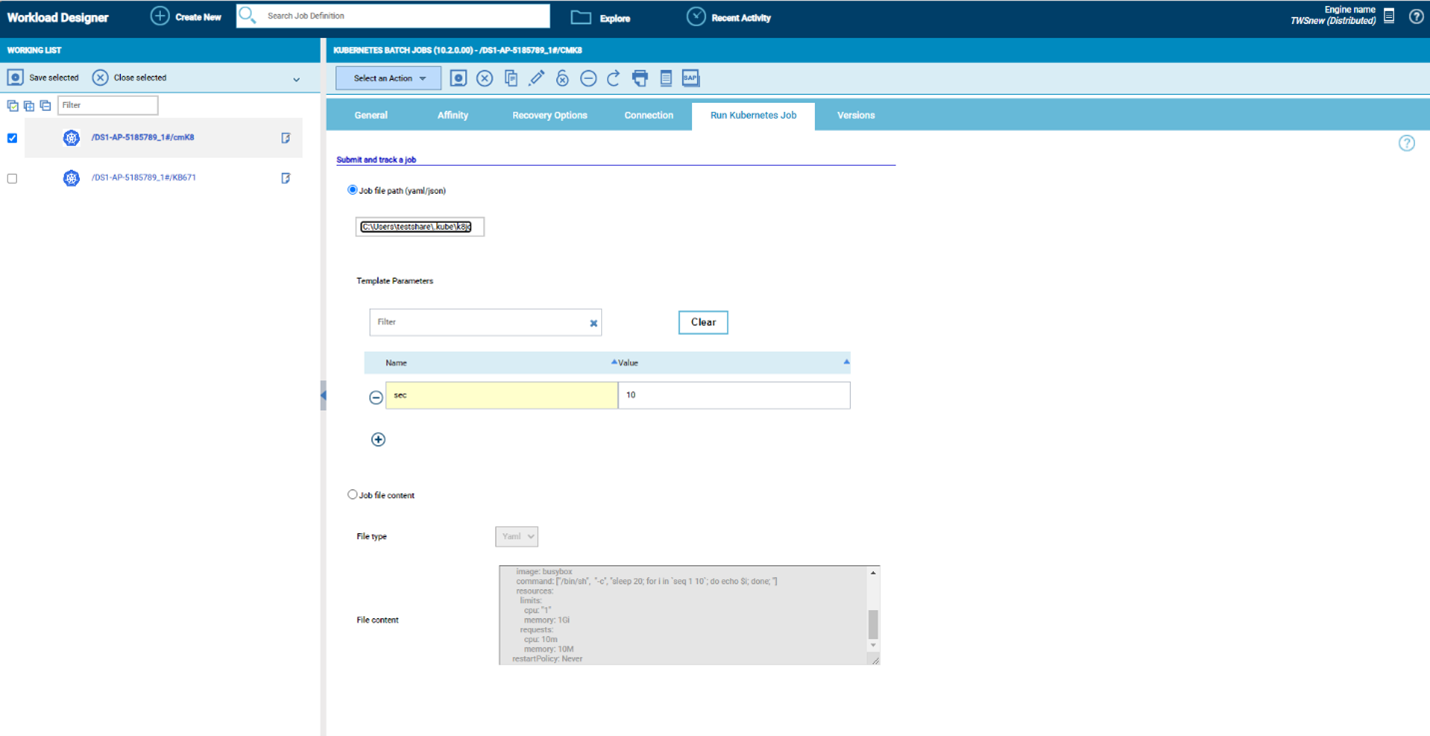
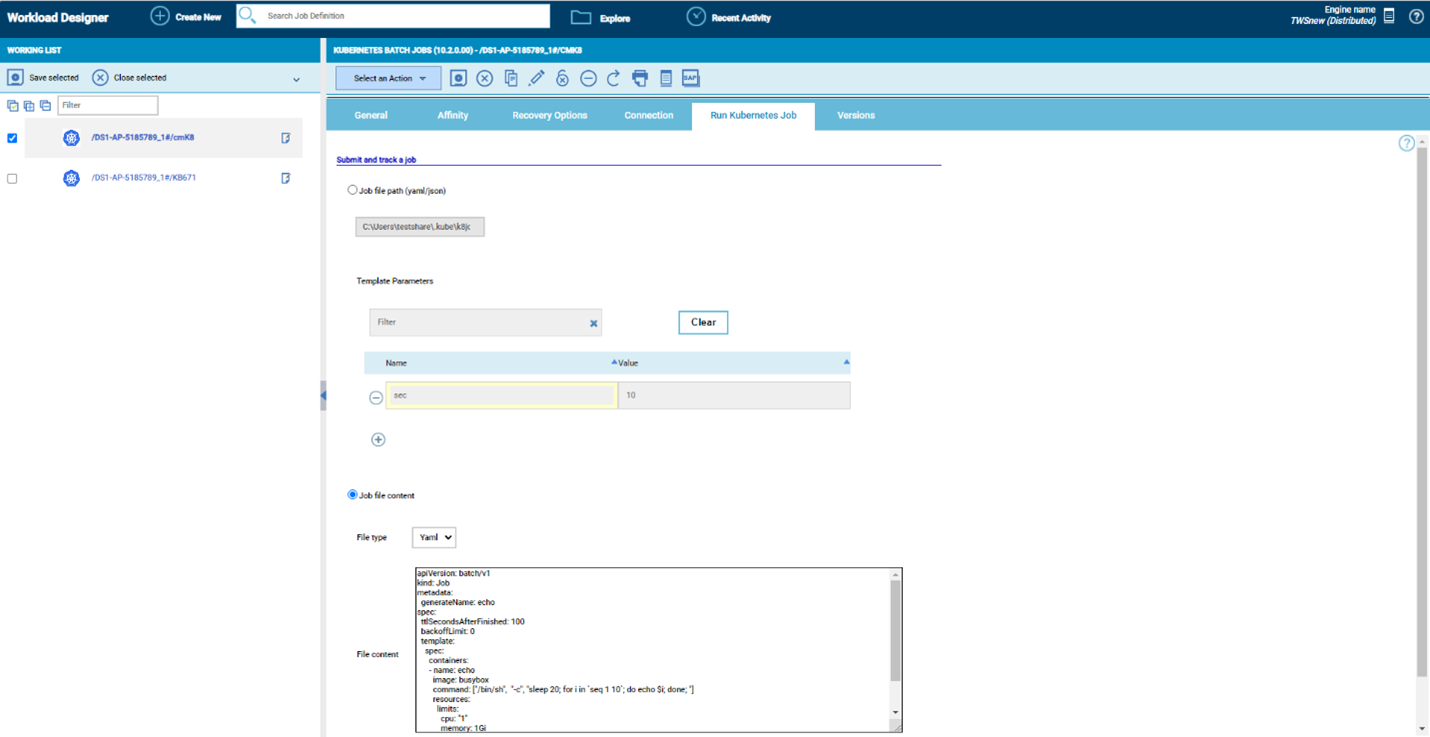
Therefore, if the user does not provide any value in the UI, the plugin appearance for the already configured namespace will be used. The plugin submits the k8's work to the "Default" namespace if the namespace has not been defined before. By using this method, the complexity brought on by the K8s cluster's security configuration is concealed. From the standpoint of Workload Automation, it only requires using Workload Automation Security to grant access to use this job plugin and to monitor jobs status, if the security configuration for the namespace granted to be used is correctly performed. Run Kubernetes Job: The Kubernetes plugin in Workload Automation can now be used to submit a K8 job to the cluster and see its progress without having to move to the cluster environment or be familiar with all the Kubernetes commands once the connection to the cluster has been established. Your job is now hassle-free because to Workload Automation. Now, you only need a few actions to submit a job to the k8 cluster. The plugin provides two simple ways to post a job:
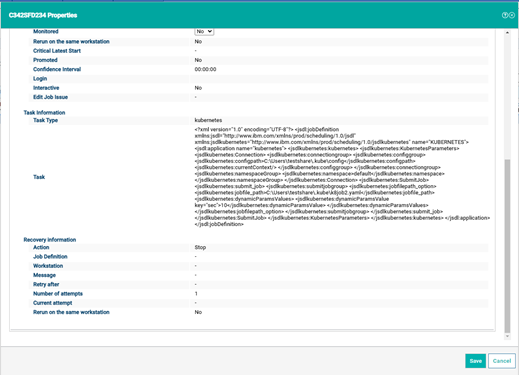
Dynamic Parameters is an added option that enables variable substitution, where we can specify variables in the job content and provide their value as required.
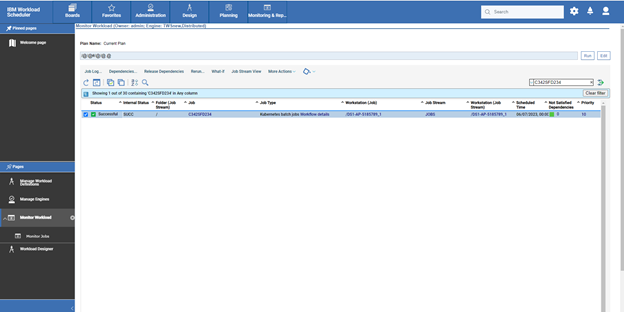
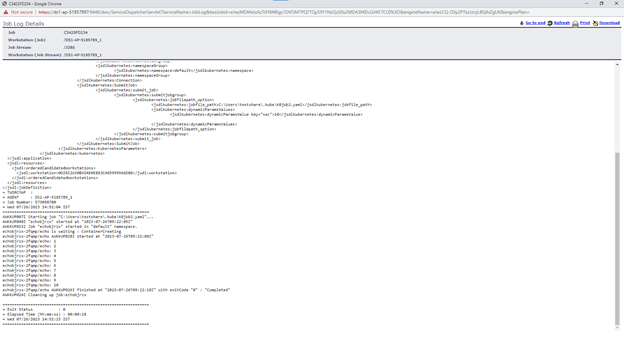
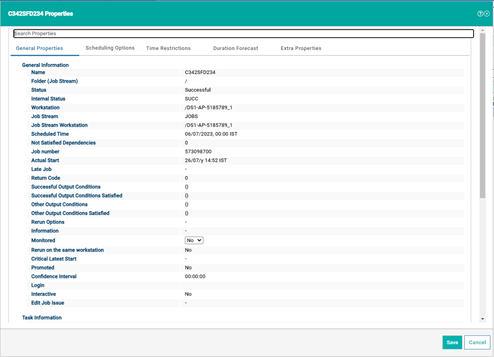
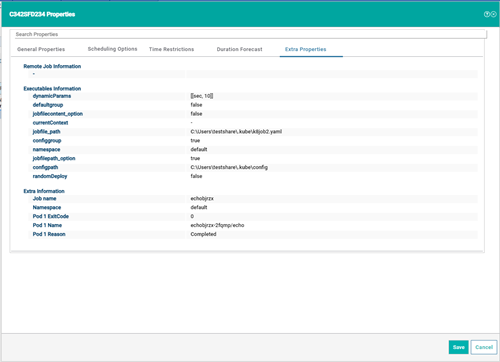
In any case, after the connection has been established, plugin examines the job content and sends the job to the k8 cluster. You have now successfully sent a job through Workload Automation to the Kubernetes cluster. Track/Monitor the Kubernetes Job: You can also easily monitor the submitted k8’s job in Workload Automation through navigating to “Monitor Workload” page. Select the job and click on Job log option to view the logs of the Kubernetes job. You can view that the Kubernetes plugin has been submitted the job to the cluster, monitored the job and cleans up the environment (Deleted the job and all the pods associated with the job). Extra Information: You can see that the plug-in provides a few "Extra properties" that you can utilize as variables for the next job submission. Thus, Kubernetes plugin in Workload Automation is a best fit for those who are looking for complete automation of the jobs connecting with remote cluster or the agent which is deployed on the cluster. Are you curious to try out the Kubernetes plugin? Author
0 Comments
Your comment will be posted after it is approved.
Leave a Reply. |
Archives
July 2024
Categories
All
|



 RSS Feed