|
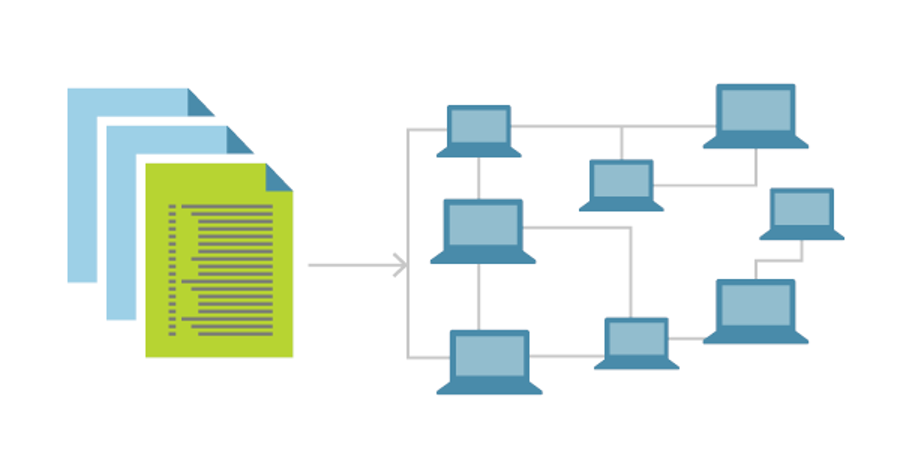
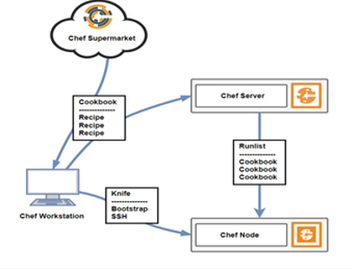
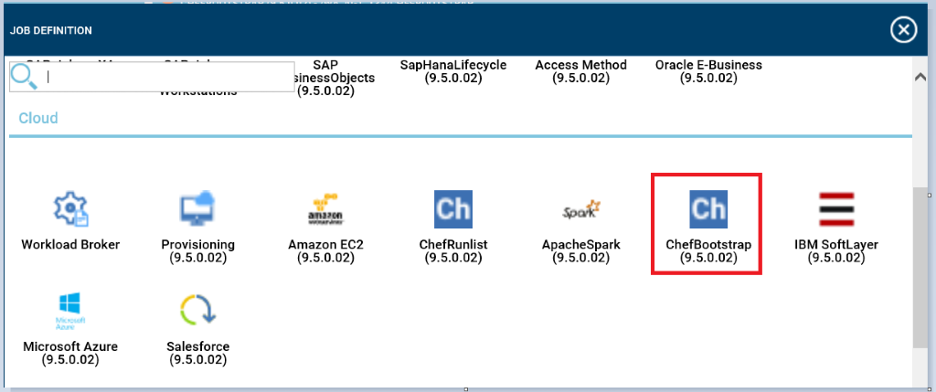
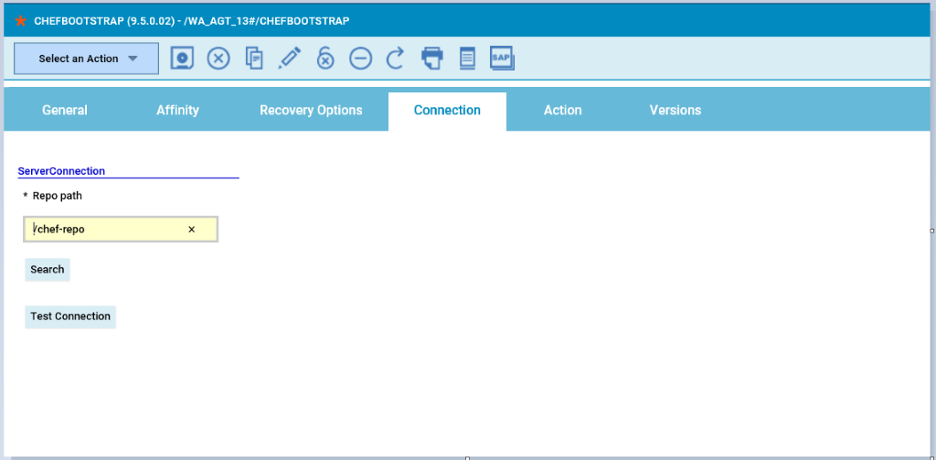
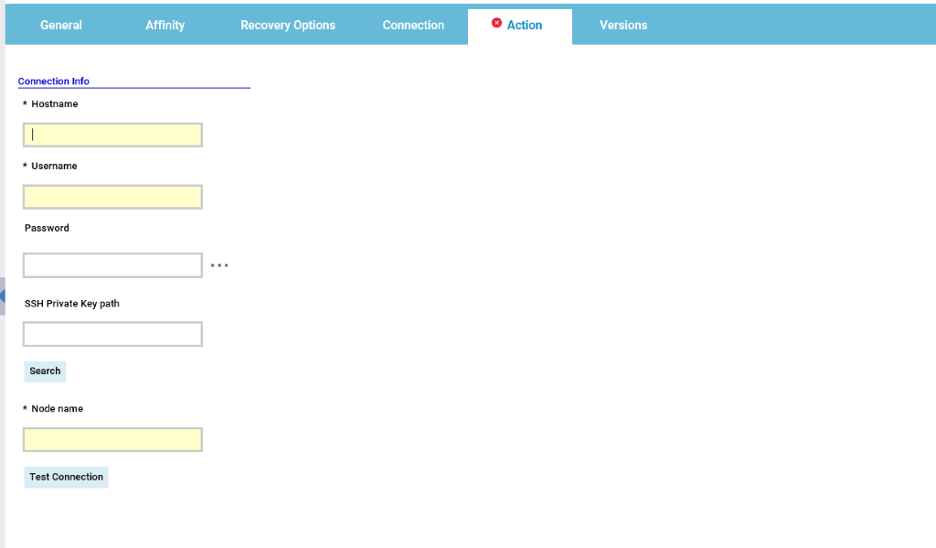
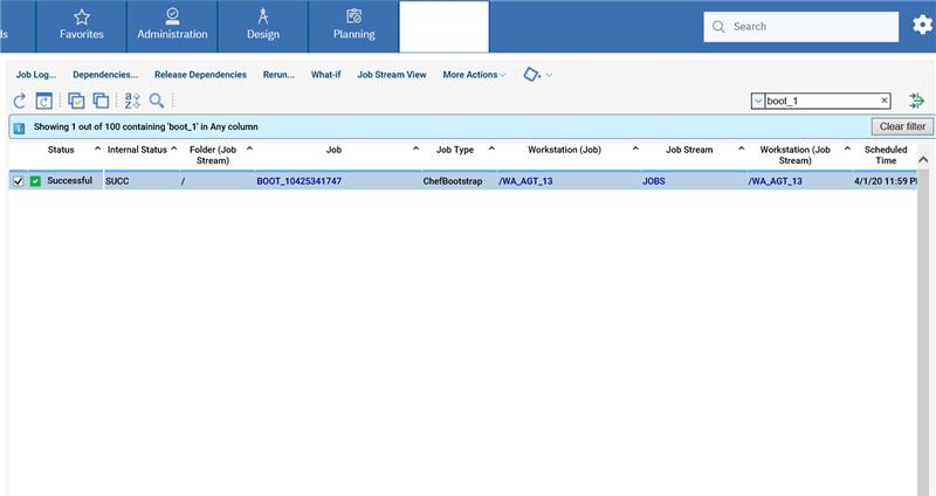
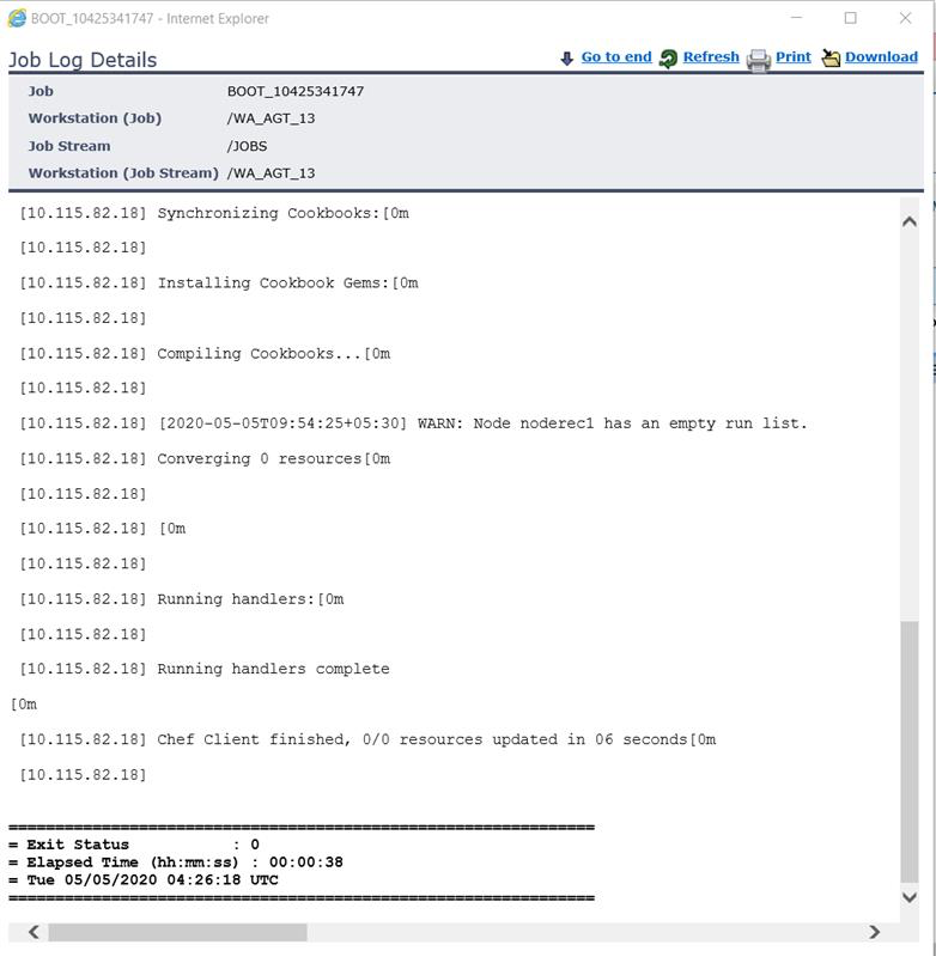
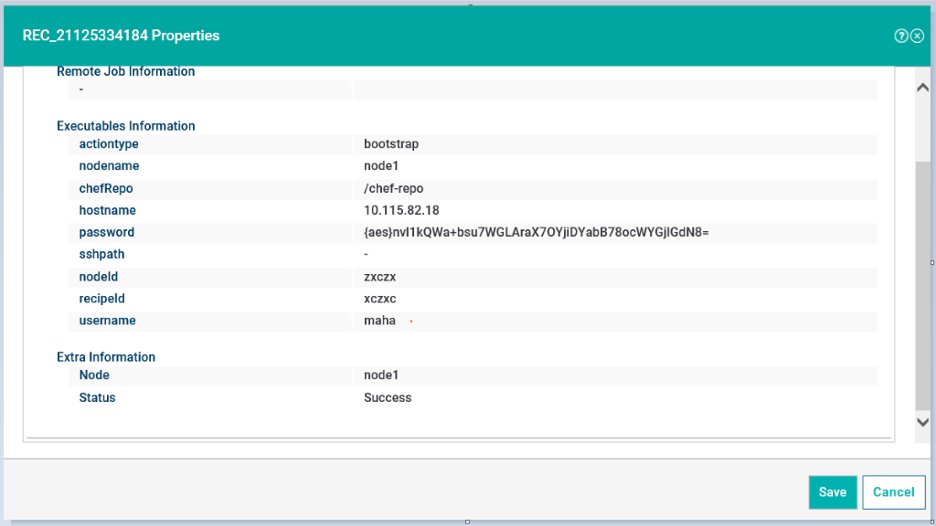
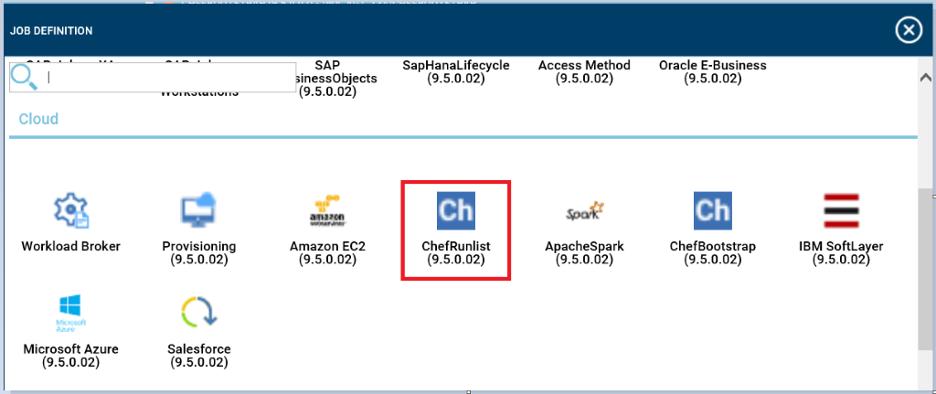
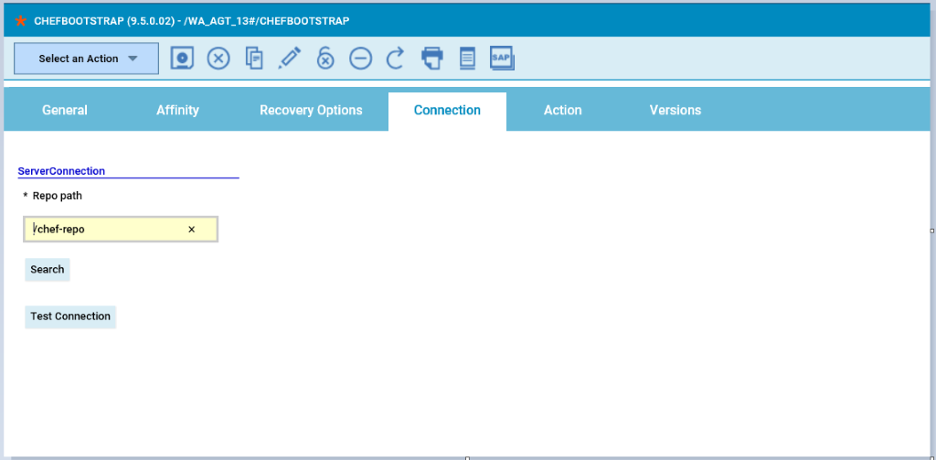
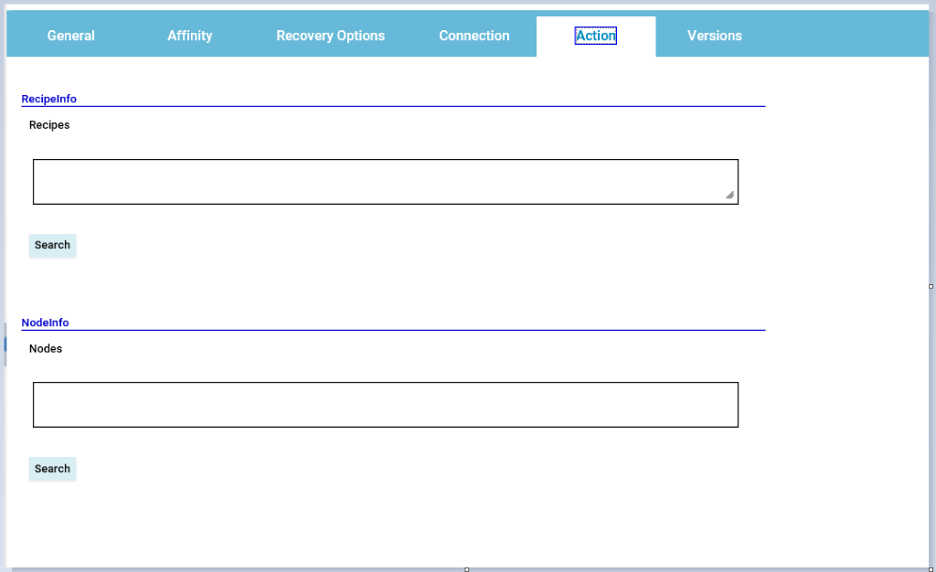
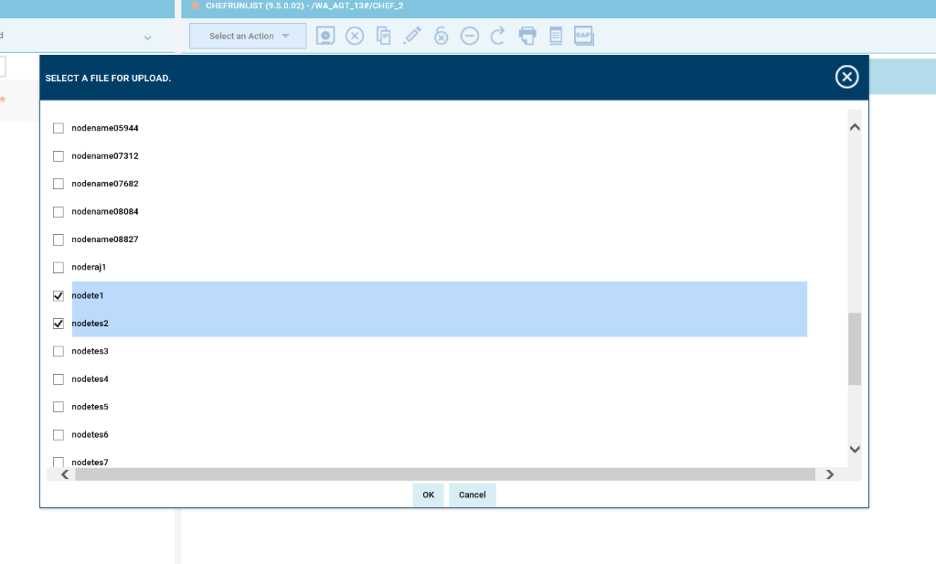
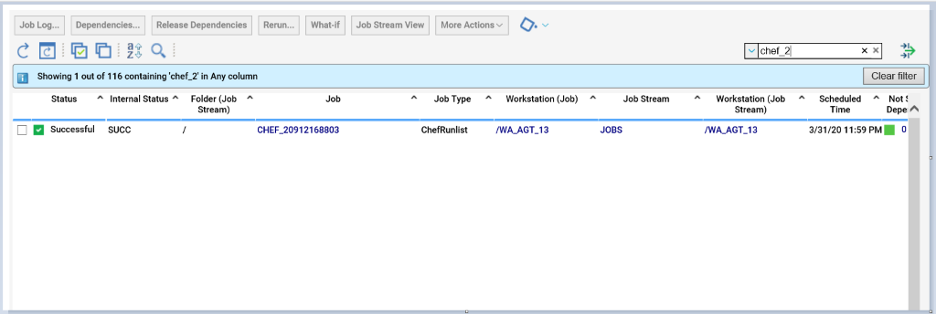
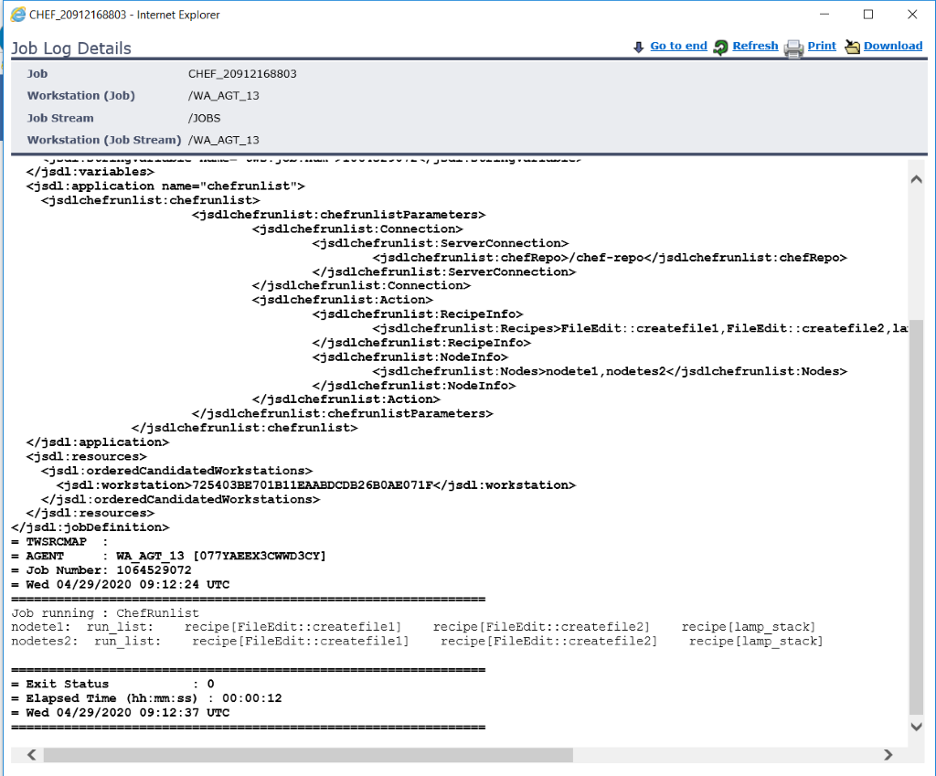
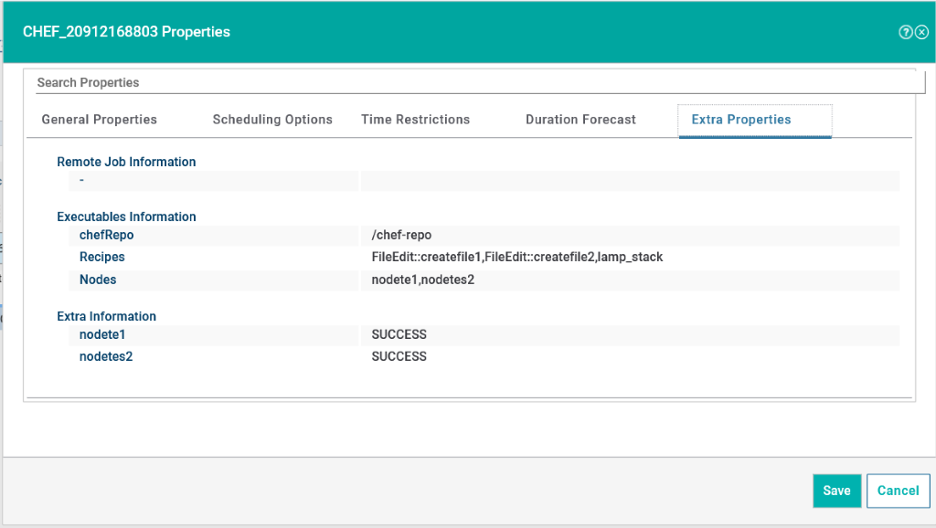
Let us understand Configuration Management this way – assume you must dispose a software over hundreds of machines. This software can be an operating system or a code or it can be an update of a currently running software. It is possible for you to do this task manually, but what results if you have to complete this assignment overnight due to any important mass event taking place at your organization next day in which heavy traffic is foreseen. Even if you were prepared to do this by-hand there is a high chance of recurring errors on your big day. In such a case, returning to the previous stable version, will not be possible to do manually with ease. To solve this problem, Configuration Management was introduced. By using Configuration Management tools like Chef, we can achieve this. In order to let Workload Automation users make the most out of Chef, we have added two plugins on the Automation Hub, the catalogue of Workload Automation integrations to automate more and better. We have divided two major functionalities of Chef into two Chef plugins, they are as follows, The ChefBootstrap plugin enables you to schedule and monitor the installation of Chef client on one or more nodes, you can also define your Chef serve authentication credentials and register the nodes to make them communicate with the Chef server. The ChefRunlist plugin enables you to schedule and monitor the execution of cookbooks and recipes configured on a Chef server on the nodes. Now let us see how these both plugin works. Prerequisite for each plugin is that you should have chef workstation setup and chef server configuration in your agent to connect your chef server. ChefBootstrap: How to bootstrap a node using ChefBootstrap plugin: Log in to the Dynamic Workload Console and open the Workload Designer. Choose to create a new job and select “ChefBootstrap” job type in the Cloud section. Establishing connection to the Chef server: In the connection tab specify the repository path of the configuration and pem files in the Repo path field to let workload Automation interact with chef server and click Test Connection. A confirmation message is displayed when the connection is established. Note: The configuration file should have: Node_name = Organization name of the chef server client_key = Location of the pem path chef_server_url = Chef server url chef_license 'accept' = This has to be added only if you are using chef-client version > or =15 Bootstrap a Node: In Action tab specify the node machine details which you want to bootstrap. A node could be any physical, virtual, or cloud device. Provide the host name of the node. Provide either a password or path to the file in which you stored your SSH private key and a node name to establish a connection to node machine. Click Test connection to verify that the connection to the node. A confirmation message is displayed when the connection is established. Submitting your job: It is time to Submit your job into the current plan. You can add your job to the job stream that automates your business process flow. Select the action menu in the top-left corner of the job definition panel and click on Submit Job into Current Plan. A confirmation message is displayed, and you can switch to the Monitoring view to see what is going on. Track/Monitor your Job: You can also easily monitor the submitted job in WA through navigating to “Monitor Workload” page. Select the job and click on job log option to view the logs of the ChefBootstrap job. Here, you can see that the Chef-client is installed in the node and connection is established successfully between Chef server and the node. Extra Information: You can see that there are few “Extra properties” provided by the plug-in which you can use these variables for the next job submission. ChefRunlist: How to add recipes to a node using ChefRunlist plugin: Log in to the Dynamic Workload Console and open the Workload Designer. Choose to create a new job and select “ChefRunlist” job type in the Cloud section. Establishing connection to the Chef server: In the connection tab specify the repository path of the configuration and pem files in the Repo path field to let workload Automation interact with chef server and click Test Connection. A confirmation message is displayed when the connection is established. Note: The configuration file should have: Node_name = Organization name of the chef server client_key = Location of the pem path chef_server_url = Chef server url chef_license 'accept' = This has to be added only if you are using chef-client version > or =15 Add Recipes to a Node: In Action tab specify the recipes that needs to be executed on the selected nodes. Click on the search button under Recipes to lookup the list of recipes from the chef server. Multi select the recipes which you want to apply on nodes. Submitting your job: It is time to Submit your job into the current plan. You can add your job to the job stream that automates your business process flow. Select the action menu in the top-left corner of the job definition panel and click on Submit Job into Current Plan. A confirmation message is displayed, and you can switch to the Monitoring view to see what’s going on. Track/Monitor your Job: You can also easily monitor the submitted job in WA through navigating to “Monitor Workload” page. Select the job and click on job log option to view the logs of the ChefRunlist job. Here, you can see that the selected recipes are applied to the selected nodes. Extra Information: You can see that there are few “Extra properties” provided by the plug-in which you can use these variables for the next job submission. Therefore, ChefBootstrap and ChefRunlist plugins in Workload Automation is a best fit for those who are looking for complete automation of the configuration management. Are you curious to try out the Chef plugin? Download the integrations from the Automation Hub and get started or drop a line at [email protected]. Author's BIO
0 Comments
Your comment will be posted after it is approved.
Leave a Reply. |
Archives
July 2024
Categories
All
|




 RSS Feed